In this guide: Step-by-step guide to installing the plugin from WordPress.
Contents
- Before installing
- Installation from WordPress
- After activation
- If a dependency notice appears
- Next step
Before installing
Check that you have the official plugin ZIP file and that your website meets the basic requirements: updated WordPress, compatible PHP, WPML, WPML String Translation, and Oxygen Builder active.
It is also recommended to have the main languages configured in WPML before starting the translation of Oxygen pages.
Installation from WordPress
- Log in to the WordPress dashboard with an administrator user.
- Go to Plugins → Add New.
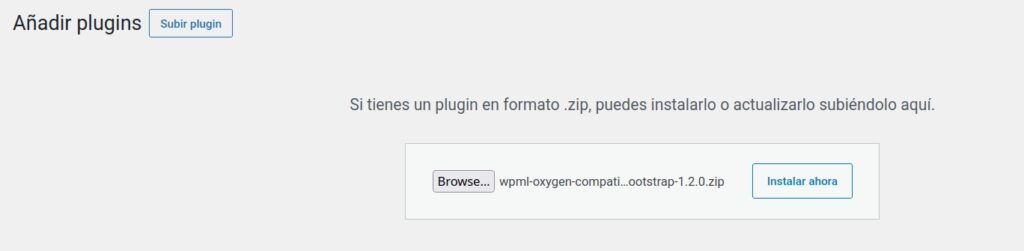
- Click Upload Plugin.
- Select the official WPML Oxygen Connector ZIP file.
- Click Install Now.
- When the installation finishes, click Activate Plugin.
After activation
Once activated, the plugin will add its panel under Tools → WPML Oxygen Connector.
From that panel you will be able to activate the license, review detected pages, scan content, translate strings, export/import JSON, and validate the result.
If a dependency notice appears
If WordPress shows a notice indicating that WPML, WPML String Translation, or Oxygen is missing, first install and activate the required plugin.
The connector needs those plugins to work correctly. If a critical dependency is not available, it does not make sense to start the translation workflow.
Next step
After installing and activating the plugin, continue with license activation and the first setup.